Creating a Virtual Photo Studio with AI
By John Doe 5 min
Key Points
It seems likely that creating a virtual photo studio using AI involves setting up a digital environment in software like Blender, enhanced by AI tools for tasks like image generation and lighting.
Research suggests that AI can automate and improve aspects like background creation and lighting adjustments, making virtual studios more accessible and efficient.
The evidence leans toward using tools like Blender with add-ons such as AI Render for Stable Diffusion to generate realistic images, though the process may vary based on user expertise.
What is a Virtual Photo Studio?
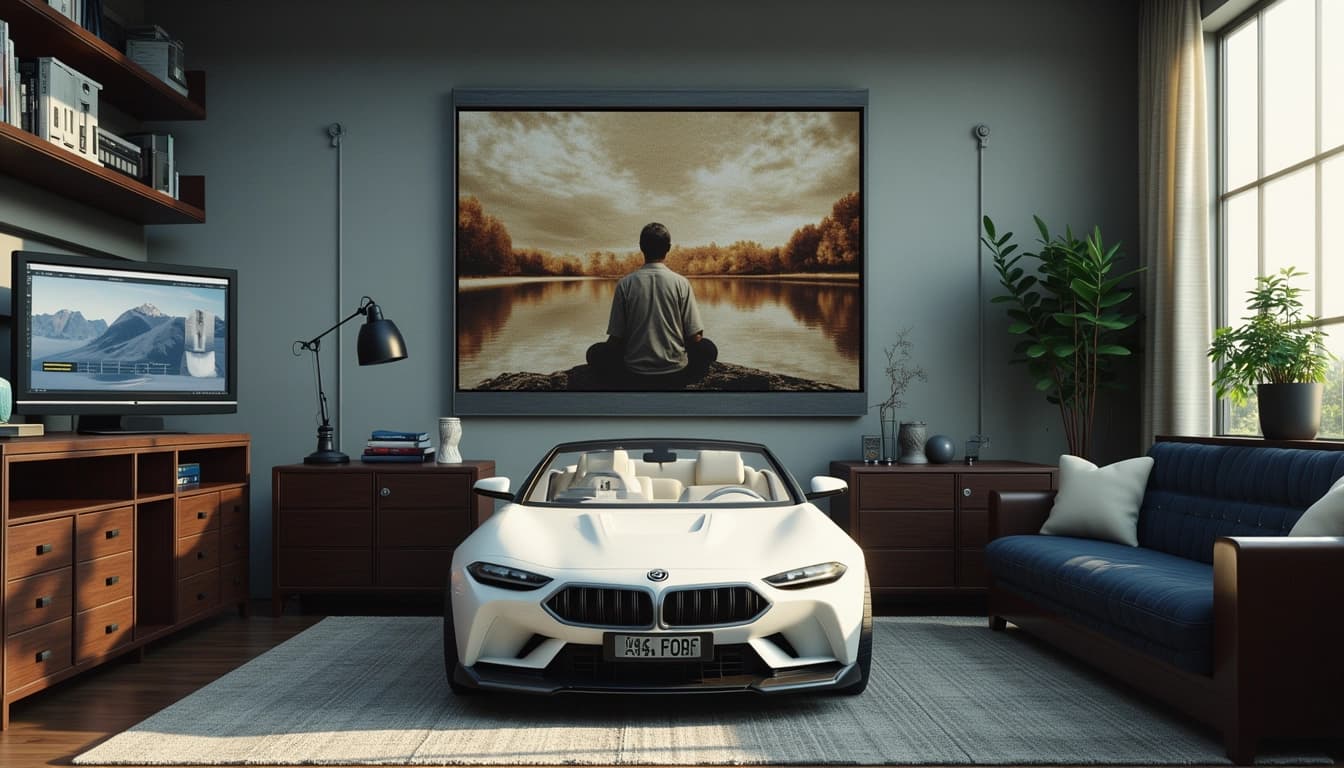
A virtual photo studio is a digital space that simulates a physical photo studio, allowing you to create images as if taken in a real studio. It offers flexibility in lighting, backgrounds, and camera angles without physical constraints. Using AI, you can enhance this process by automating tasks like generating backdrops or adjusting lighting, making it easier to produce professional-quality images from home.
How to Set Up Using AI
To create a virtual photo studio using AI, start with Blender, a free, open-source 3D software. Here's a simple guide:
- Install Blender: Download it from [Blender](https://www.blender.org/).
- Set Up the Studio: Create a room, add lights (e.g., softboxes, spotlights), position a camera, and include props or subjects.
- Integrate AI: Use the AI Render add-on, which integrates Stable Diffusion for AI-generated images. Install it from [AI Render](https://blendermarket.com/products/ai-render), set up a DreamStudio account for cloud rendering, and generate images based on your scene or text prompts.
For detailed steps, check out [this tutorial](https://www.youtube.com/watch?v=YJ7ZlQnTwt0) on setting up a simple photo studio in Blender.
Unexpected Detail: AI Enhances Creativity
An unexpected benefit is how AI, like Stable Diffusion in Blender, can generate unique textures or backgrounds, allowing for creative freedom beyond traditional methods.
In the evolving landscape of digital content creation, the integration of artificial intelligence (AI) with virtual photo studios represents a significant advancement. This setup is particularly beneficial for photographers, designers, and content creators seeking efficient, cost-effective solutions. By leveraging AI, users can automate and optimize tasks such as image generation and lighting adjustments, making virtual studios more accessible.
Understanding Virtual Photo Studios and AI Integration
A virtual photo studio is a digital environment that simulates the conditions of a physical photo studio, enabling users to create images with controlled lighting, backgrounds, and camera perspectives. This eliminates the need for physical space, reducing costs and logistical challenges. AI enhances this process by automating tasks like image generation and lighting adjustments, expanding creative possibilities. For example, AI can produce studio-quality headshots from casual selfies or generate product images in various settings without traditional photoshoots.
The Role of AI in Virtual Studios
AI plays a multifaceted role in virtual photo studios. It can generate photorealistic images, simulate lighting effects, and create virtual models or backdrops. This integration is especially valuable in industries like e-commerce, where high-quality visuals are crucial for consumer engagement. AI-powered tools also allow for rapid prototyping and experimentation, enabling creators to explore new styles and concepts effortlessly.
Choosing the Right Tools: Blender and AI Add-Ons
Blender, a free, open-source 3D creation suite, is a powerful tool for setting up virtual photo studios. Its versatility and extensive feature set make it ideal for creating realistic environments. AI add-ons can further enhance Blender's capabilities by automating complex tasks like texture generation or lighting setup. Combining Blender with AI tools allows users to achieve professional-grade results without the need for expensive equipment or physical studio space.
Conclusion & Next Steps
The integration of AI with virtual photo studios offers a transformative approach to digital content creation. By leveraging tools like Blender and AI add-ons, creators can achieve high-quality results efficiently and cost-effectively. As AI technology continues to evolve, the possibilities for virtual studios will expand, opening new avenues for creativity and innovation. The next steps involve exploring advanced AI tools and staying updated with the latest developments in the field.
- Explore AI-powered tools for virtual photo studios
- Experiment with Blender and AI add-ons
- Stay updated with the latest AI advancements
Blender is a powerful open-source 3D creation suite that offers a wide range of tools for modeling, animation, and rendering. It has become a popular choice for creating virtual photo studios due to its flexibility and extensive feature set. With the integration of AI tools, Blender can further enhance its capabilities, making it an ideal platform for both beginners and professionals.
Why Use Blender for a Virtual Photo Studio?
Blender provides a comprehensive set of tools for creating realistic 3D environments, including advanced lighting, shading, and rendering options. Its open-source nature means it is constantly updated by a vibrant community, ensuring it stays at the cutting edge of 3D technology. Additionally, Blender's compatibility with various AI tools allows users to automate and enhance their workflows, making it easier to achieve professional-quality results.
Key Features of Blender for Virtual Studios
Blender's key features include its robust modeling tools, real-time rendering with Eevee, and high-quality path tracing with Cycles. These features enable users to create highly detailed and photorealistic scenes. The software also supports Python scripting, which can be used to automate tasks and integrate AI tools seamlessly into the workflow.
Integrating AI with Blender
AI tools like Stable Diffusion can be integrated into Blender to enhance its capabilities. For example, the AI Render add-on allows users to generate AI-based images directly within Blender. This integration opens up new possibilities for creative projects, such as generating textures, backgrounds, or even entire scenes based on text prompts.
Setting Up Your Virtual Studio
Setting up a virtual photo studio in Blender involves several steps, from installing the software to configuring the scene. Users can start by downloading Blender from the official website and then exploring tutorials to get familiar with the interface. Once comfortable, they can begin setting up their studio by modeling the environment, adding lights, and configuring the camera.
Conclusion & Next Steps
Blender, combined with AI tools, offers a powerful solution for creating virtual photo studios. Its extensive features and community support make it accessible to users of all skill levels. By leveraging AI, users can further enhance their workflows and achieve stunning results. The next step is to experiment with different tools and techniques to find what works best for your projects.
- Download and install Blender
- Explore tutorials to learn the basics
- Set up your virtual studio environment
- Integrate AI tools like Stable Diffusion
- Experiment and refine your workflow
Creating a virtual photography studio in Blender allows artists to simulate real-world photography setups with complete control over lighting, composition, and props. This guide walks through the essential steps to set up a studio environment, from modeling the space to integrating AI-powered rendering for enhanced creativity. Whether for product visualization or portrait photography, Blender provides the tools needed to achieve professional results.
Setting Up the Virtual Studio
Begin by modeling a basic room using Blender’s primitive shapes like cubes and planes to represent walls, floors, and ceilings. Adjust the dimensions to match the desired studio size, ensuring ample space for props and lighting setups. Proper scaling is crucial to maintain realism when adding objects or characters later. Use reference images or real-world measurements to guide your modeling process for accuracy.
Lighting and Camera Configuration
Lighting is a critical component of any photography studio. In Blender, experiment with different light types such as area lights for soft shadows or spotlights for focused illumination. Position lights to mimic studio setups like three-point lighting, adjusting intensity and color temperature to match your creative vision. Set up the camera with an appropriate focal length and composition, ensuring it captures the scene as intended.
Enhancing with AI Render
The AI Render add-on expands creative possibilities by generating AI-enhanced images directly within Blender. After installing the add-on, configure it with a DreamStudio API key or set up a local installation for offline use. Input text prompts to generate backgrounds, textures, or even entire scenes, blending AI creativity with manual adjustments for unique results.
Practical Applications and Tips
Virtual studios are ideal for product mockups, architectural visualization, or conceptual art. Use HDRI environments for realistic lighting reflections, and keep the scene optimized for faster rendering. Regularly save incremental versions of your project to experiment freely without losing progress. Engage with the Blender community to share setups and gather feedback for improvements.
Conclusion & Next Steps
Building a virtual photography studio in Blender combines technical modeling with artistic lighting and AI-enhanced rendering. Start with simple projects to familiarize yourself with the workflow, then gradually incorporate advanced techniques like dynamic lighting or procedural textures. Share your creations online to inspire others and refine your skills through community collaboration.
- Model the studio space using accurate proportions
- Experiment with lighting setups for desired moods
- Integrate AI Render for creative enhancements
- Share your work for community feedback
Creating a virtual photo studio in Blender opens up endless possibilities for photographers and digital artists. By leveraging 3D modeling and rendering, you can simulate real-world studio environments with complete control over every element. This approach is not only cost-effective but also allows for experimentation without physical constraints.
Setting Up Your Virtual Studio
The first step in creating a virtual photo studio is setting up the scene in Blender. Start by modeling a basic studio space with walls, floors, and backdrops. Use Blender's built-in tools to create realistic textures and materials, such as fabric for backdrops or wood for flooring. Lighting is crucial, so experiment with different setups to achieve the desired mood and effect.
Choosing the Right Lighting
Lighting can make or break your virtual photo studio. Consider using a combination of key, fill, and backlighting to mimic professional studio setups. Blender's Cycles or Eevee render engines offer advanced lighting options, including area lights, spotlights, and HDRI environments. Adjust the intensity and color temperature to match real-world lighting conditions.
Adding Realistic Details
To make your virtual studio look authentic, add props and accessories commonly found in real photo studios. This could include light stands, reflectors, or even furniture. Pay attention to small details like shadows and reflections, as they contribute significantly to the realism of your renders.
Rendering and Post-Processing
Once your scene is set up, it's time to render your images. Use Blender's camera settings to adjust the composition, depth of field, and focal length. After rendering, you can further enhance your images in post-processing software like Photoshop or GIMP. Adjusting contrast, brightness, and color balance can help achieve a polished, professional look.
Conclusion & Next Steps
Creating a virtual photo studio in Blender is a rewarding process that combines creativity and technical skills. By following these steps, you can produce stunning, realistic images without the need for physical equipment. The next step is to experiment with different styles and techniques to refine your virtual studio further.
- Experiment with different lighting setups
- Add realistic props and textures
- Use post-processing to enhance your renders
Creating a virtual photo studio using AI in Blender is an innovative approach that combines the power of 3D modeling with artificial intelligence. This method allows users to generate high-quality images without the need for physical equipment or extensive manual adjustments. By leveraging AI tools, photographers and designers can streamline their workflow and achieve professional results with minimal effort.
Setting Up the Virtual Studio
The first step in creating a virtual photo studio is to set up the environment in Blender. This involves configuring the camera, lighting, and background to mimic a real-world studio. Users can choose from various presets or customize their setup to suit specific needs. The flexibility of Blender allows for endless creative possibilities, making it an ideal platform for virtual photography.
Configuring the Camera
The camera settings in Blender are crucial for achieving realistic results. Users should adjust the focal length, aperture, and other parameters to match the desired photographic style. Proper camera configuration ensures that the virtual images closely resemble those taken in a physical studio. Experimenting with different settings can help users find the perfect balance for their projects.
Integrating AI Tools
AI tools like AI Render can significantly enhance the virtual photo studio experience. These tools enable users to generate textures, lighting effects, and even entire scenes using AI algorithms. By automating complex tasks, AI reduces the time and effort required to produce stunning images. This integration is particularly useful for beginners who may not have extensive experience in 3D modeling.
Optimizing the Workflow
To maximize efficiency, users should focus on optimizing their workflow. This includes organizing assets, using shortcuts, and leveraging Blender's scripting capabilities. A well-structured workflow not only saves time but also ensures consistency across projects. Additionally, users can take advantage of community resources and tutorials to further improve their skills.
Conclusion & Next Steps
Creating a virtual photo studio in Blender with AI is a game-changer for photographers and designers. This approach offers a cost-effective and flexible alternative to traditional studios, with the added benefit of AI-powered enhancements. By following the steps outlined in this guide, users can unlock new creative possibilities and elevate their work to the next level.
- Set up the virtual environment in Blender
- Configure camera and lighting settings
- Integrate AI tools for enhanced effects
- Optimize workflow for efficiency
AI Render is a powerful tool that integrates with Blender to generate stunning visuals using artificial intelligence. It allows artists and designers to create unique renders by leveraging AI models. This tool is particularly useful for those looking to enhance their creative workflow with cutting-edge technology.
Installation and Setup
Setting up AI Render in Blender is straightforward but requires attention to detail. First, ensure you have the latest version of Blender installed. Then, download the AI Render add-on from the official GitHub repository. Follow the installation instructions carefully to avoid any compatibility issues. Once installed, you can activate the add-on in Blender's preferences.
System Requirements
Before installing AI Render, check if your system meets the necessary requirements. The tool requires a decent GPU for optimal performance, as AI rendering can be resource-intensive. Additionally, ensure you have enough RAM and storage space to handle large render files. A stable internet connection is also recommended for downloading models and updates.
Creating Animations with AI Render
AI Render can be used to create mesmerizing animations by generating frames with AI. Start by setting up your scene in Blender as you normally would. Then, use the AI Render add-on to generate each frame with unique AI-driven effects. This approach can save time and open up new creative possibilities.
Prompt Engineering Tips
Effective prompt engineering is key to getting the best results from AI Render. Experiment with different prompts to see how they influence the output. Be specific with your descriptions to guide the AI toward your desired outcome. Over time, you'll develop a sense of what works best for your projects.
Common Pitfalls
Avoid vague or overly complex prompts, as they can lead to unpredictable results. It's also important to balance creativity with practicality. Sometimes, simpler prompts yield more consistent and usable renders. Don't hesitate to iterate and refine your prompts based on the results you get.
Troubleshooting and FAQ
If you encounter issues with AI Render, consult the FAQ section on the GitHub wiki. Common problems include installation errors, compatibility issues, and performance bottlenecks. The community is also a great resource for troubleshooting and sharing solutions.
- Check your Blender version
- Verify GPU drivers are up to date
- Ensure sufficient disk space
- Consult the GitHub wiki for known issues
Conclusion and Next Steps
AI Render is a game-changer for Blender users, offering new ways to create stunning visuals. By mastering its features and techniques, you can elevate your projects to new heights. Start experimenting today and explore the endless possibilities of AI-driven rendering.